Hey there! As a supplier of Plastic Crate Moulds, I've seen it all when it comes to the installation and removal of these essential tools. In this blog, I'll share some tips and tricks on how to handle a plastic crate mould during these crucial processes.
Installation of a Plastic Crate Mould
Pre - installation Checks
Before you even think about installing the mould, you've got to do a thorough check. First off, examine the mould itself. Look for any visible damages like cracks, scratches, or dents. A damaged mould can lead to defective plastic crates and might even cause issues during the injection - molding process.
Next, check the injection molding machine. Make sure it's clean and in good working condition. The machine should be calibrated correctly according to the specifications of the plastic crate mould. You don't want to start the installation only to find out that the machine isn't compatible or is malfunctioning.
Positioning the Mould
Once you've completed the pre - installation checks, it's time to position the mould on the injection molding machine. This step is super important as an improper position can lead to uneven filling of the plastic in the mould, resulting in poor - quality crates.
Use a crane or a forklift to lift the mould carefully and place it on the machine's platen. Align the mould with the machine's guiding pins or alignment marks. These are there for a reason, so make sure you follow them precisely. You might need to make some minor adjustments to get the perfect alignment.
Securing the Mould
After positioning, you need to secure the mould firmly to the machine. Most plastic crate moulds are secured using bolts or clamps. Tighten the bolts or clamps evenly to ensure that the mould is held in place without any movement during the injection process.
Don't over - tighten the bolts, though. Over - tightening can cause stress on the mould and the machine, which might lead to premature wear and tear. Just make sure they're tight enough to keep the mould stable.
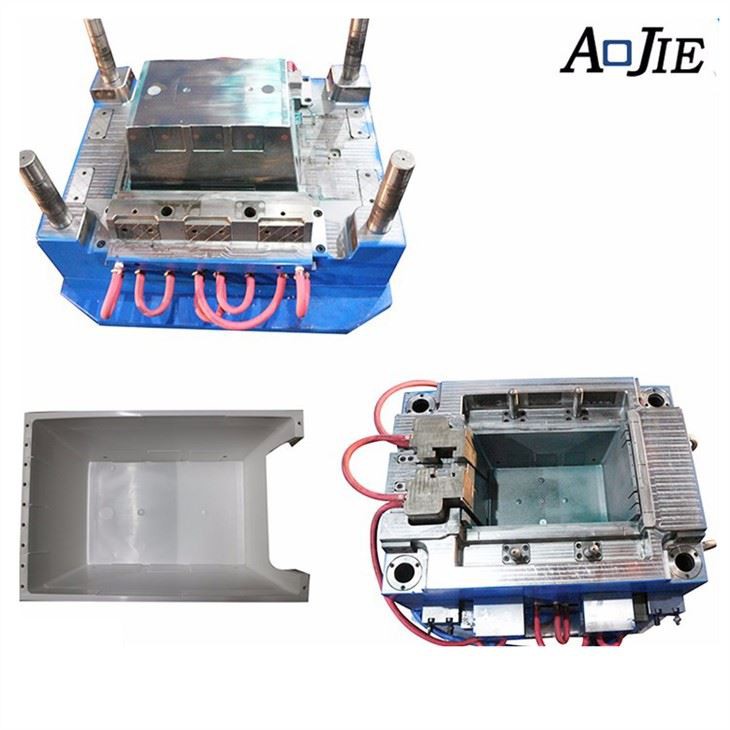
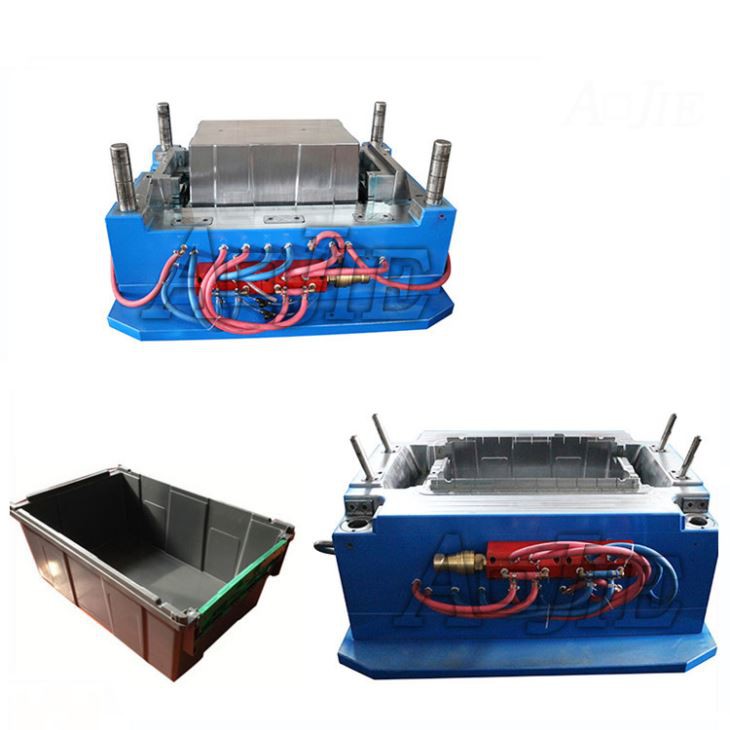
Connecting the Cooling and Heating Systems
Plastic crate moulds often have cooling and heating systems to control the temperature during the molding process. Connect the cooling water hoses and the heating elements (if any) to the appropriate ports on the mould and the machine.
Check for any leaks in the cooling system. Leaking water can not only damage the mould and the machine but also affect the quality of the plastic crates. Make sure the heating elements are working properly by testing them before starting the production.
Removal of a Plastic Crate Mould
Stopping the Production Process
When it's time to remove the mould, the first thing you need to do is stop the injection molding process. Turn off the machine and let the plastic in the mould cool down completely. This is important because removing a hot mould can be dangerous and can also cause damage to the mould.
Disconnecting the Systems
Once the mould is cool, disconnect the cooling water hoses and the heating elements. Be careful when doing this to avoid any spills or damage to the connections. Also, remove any electrical connections if there are any.
Loosening the Bolts or Clamps
After disconnecting the systems, loosen the bolts or clamps that are holding the mould to the machine. Use the appropriate tools for this job. Make sure you loosen them evenly to avoid any sudden movement of the mould.
Lifting and Removing the Mould
Once the bolts or clamps are loose, use a crane or a forklift to lift the mould carefully from the machine. Be extra cautious during this step as the mould is heavy and can cause serious injuries if it falls.
Place the removed mould on a clean and flat surface. You might want to cover it with a protective sheet to prevent any dust or debris from getting on it.
Maintenance During Installation and Removal
During the installation and removal of the plastic crate mould, it's a good time to perform some maintenance tasks. Clean the mould and the machine's platen after removing the mould. Remove any plastic residue, dirt, or grease from the mould. You can use a mild detergent and a soft brush for this purpose.
Inspect the mould's moving parts, such as ejector pins and slides. Lubricate them if necessary to ensure smooth operation. This will help extend the lifespan of the mould and improve the quality of the plastic crates.
Why Our Plastic Crate Moulds are a Great Choice
As a supplier, we offer a wide range of high - quality plastic crate moulds. Check out our Hot Sell Plastic Crate Injection Mold, which is designed for efficient and high - volume production. Our Plastic Meat Crate Mould is specifically designed to meet the hygiene and durability requirements for meat storage. And if you're looking for something new, our New Plastic Crate Molding offers the latest in molding technology.
Contact Us for Your Plastic Crate Mould Needs
If you're in the market for a plastic crate mould, whether it's for installation in a new machine or replacement of an old one, don't hesitate to contact us. We're here to provide you with the best - quality moulds and offer expert advice on installation and removal. Our team of professionals has years of experience in the industry and can help you make the right choice for your business.
References
- Injection Molding Handbook, Third Edition by O. Olabisi
- Plastics Processing Technology by R. T. Fenner